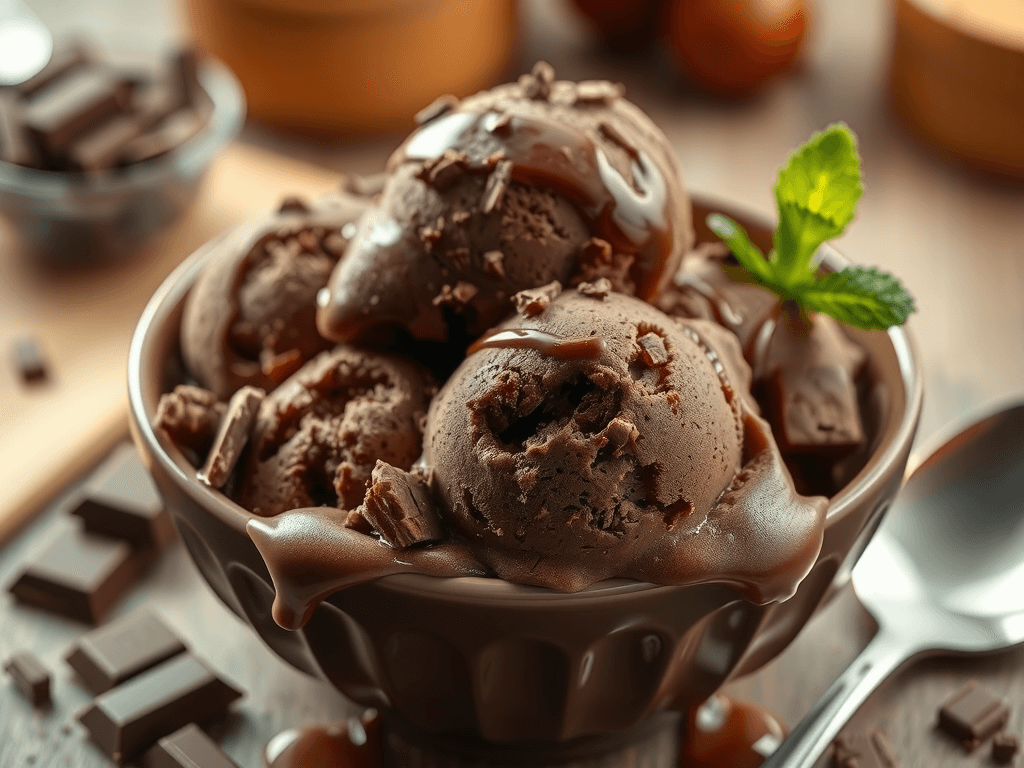
The Ultimate Guide to Making Creamy Homemade Chocolate Ice Cream
Indulging in homemade chocolate ice cream is a delightful experience that evokes nostalgia and joy. Imagine the rich, velvety texture melting in your mouth, paired with the intense flavor of high-quality chocolate. This recipe is not just a treat; it’s a celebration of simple ingredients and the joy of creating something delicious at home. Whether you’re hosting a summer gathering or simply treating yourself, this homemade chocolate ice cream will quickly become a beloved favorite.
Ingredients Needed for Homemade Chocolate Ice Cream
To create this delectable dessert, gather the following ingredients:
- 2 cups heavy cream
- 1 1/2 cups whole milk
- 3/4 cup granulated sugar
- 1/4 cup unsweetened cocoa powder
- 6 ounces semisweet chocolate, chopped or in chips
- 3 large egg yolks
- 1/2 teaspoon vanilla extract
- 1/8 teaspoon salt
Step-by-Step Guide to Making Homemade Chocolate Ice Cream
- Prepare the Base: In a medium saucepan, combine 1 cup of heavy cream, whole milk, 1/4 cup of sugar, and cocoa powder. Heat over medium heat, whisking frequently until steam rises. Remove from heat and let it sit for 10 minutes.
- Mix the Egg Yolks: In a separate bowl, whisk the egg yolks with the remaining 1/2 cup of sugar until the mixture is smooth and light in color.
- Temper the Egg Yolks: Slowly add 1/2 cup of the warm cream mixture to the egg yolks while whisking continuously. This process helps prevent the eggs from scrambling. Pour the tempered egg mixture back into the saucepan.
- Thicken the Mixture: Return the saucepan to medium heat. Stir constantly with a wooden spoon until the mixture thickens slightly, about 1 to 2 minutes. Avoid boiling.
- Strain and Cool: Remove the saucepan from heat and pour the mixture through a fine-mesh strainer into a clean bowl. Stir in the remaining 1 cup of heavy cream, chopped chocolate, vanilla extract, and salt until the chocolate is fully melted and the mixture is smooth.
- Chill the Mixture: Cover the bowl and refrigerate the mixture for at least 2 hours, or up to 3 days, to allow the flavors to meld.
- Churn the Ice Cream: Pour the chilled mixture into an ice cream maker and churn according to the manufacturer’s instructions, typically for 20 to 25 minutes.
- Freeze and Serve: Transfer the churned ice cream to a freezer-safe container. Freeze for at least 2 hours before serving to achieve the perfect consistency.

Tips and Tricks for the Best Homemade Chocolate Ice Cream
- Quality Ingredients: Use high-quality cocoa powder and chocolate to enhance the flavor.
- Chill Thoroughly: Ensure the mixture is well-chilled before churning for a creamier texture.
- Flavor Enhancements: Consider adding a tablespoon of espresso powder or a pinch of cinnamon for a unique twist.
- Mix-Ins: Fold in chocolate chips, nuts, or cookie pieces for added texture and flavor.
- Storage Tips: Store the ice cream in an airtight container to prevent freezer burn.
Serving and Storing Your Homemade Chocolate Ice Cream
When serving, present your homemade chocolate ice cream in chilled bowls or cones. Enhance the experience with toppings like whipped cream, chocolate syrup, or sprinkles.
To maintain the best texture, allow the ice cream to sit at room temperature for 5 to 10 minutes before scooping. Properly stored in an airtight container, your homemade chocolate ice cream will last for up to 2 months in the freezer.
Recipe Variations for the Best Homemade Chocolate Ice Cream
- Mint Chocolate Chip: Add 1/2 teaspoon of peppermint extract or crushed mint candies for a refreshing twist.
- Caramel Swirl: Drizzle in caramel sauce during the last few minutes of churning for a decadent treat.
- Dairy-Free Option: Substitute almond milk and coconut cream for a delicious dairy-free alternative.
- Different Chocolate Types: Experiment with milk chocolate or white chocolate for a sweeter flavor profile.
Homemade Chocolate Ice Cream: Frequently Asked Questions
- Can I make this recipe without an ice cream maker? Yes! Pour the chilled mixture into a shallow baking dish and freeze. Stir with a fork every 30 minutes until it reaches a creamy consistency.
- How do I prevent ice crystals from forming? Store the ice cream in an airtight container and minimize the frequency of opening the freezer. Adding a tablespoon of vodka or rum can also help.
- Can I use a different type of milk? While whole milk yields the best results, you can substitute with 2% milk or a dairy-free alternative. Keep in mind that fat content affects texture.
- How long does homemade ice cream last? When stored properly in an airtight container, homemade chocolate ice cream can last up to 2 months in the freezer.
Final Thoughts on Homemade Chocolate Ice Cream
Making homemade chocolate ice cream is a rewarding culinary adventure that results in a delicious treat. With this easy-to-follow recipe and helpful tips, you can create a rich, creamy dessert that will impress family and friends. So, gather your ingredients, unleash your creativity, and enjoy the delightful experience of crafting your own homemade chocolate ice cream!